Getting started
There are two ways to run fxquinox:
- Self-host with Docker — the whole stack (API + Postgres + Redis + MinIO) with one command. Best for trying it as a real deployment or running it for a team.
- Run locally for development — the backend in a virtualenv and the web UI on Vite, with hot reload.
Just want to click around?
Use Docker with FXQ_SEED_DEMO=1 (below) to get two sample projects with
shots, assets, tasks and published versions. Log in with
demo@fxquinox.dev / demo.
Self-host with Docker
Prerequisites
- Docker with Compose v2 (
docker compose version).
1. Bring up the stack
This starts four services and applies database migrations automatically:
| Service | Image | Ports | What it is |
|---|---|---|---|
backend |
built from backend/ |
8000 |
The fxquinox API |
postgres |
postgres:16 |
5432 |
Metadata store (JSONB) |
redis |
redis:7 |
6379 |
Events / cache |
minio |
minio/minio |
9000, 9001 |
S3-compatible object storage |
The API is now at http://localhost:8000 (health check: http://localhost:8000/healthz, interactive docs: http://localhost:8000/docs).
2. Configure it with environment variables
The backend reads FXQ_-prefixed environment variables (and a .env file in
its working directory). deploy/docker-compose.yml already sets the ones needed
to wire the services together; the table below is what you'll most often change.
| Variable | Default | What it does |
|---|---|---|
FXQ_DATABASE_URL |
sqlite+pysqlite:///./fxq_dev.db |
SQLAlchemy URL. Compose sets postgresql+psycopg://fxq:fxq@postgres:5432/fxquinox. |
FXQ_MEDIA_ROOT |
./media_store |
Where uploaded media and thumbnails are written. Compose uses /data/media on a volume. |
FXQ_REDIS_URL |
redis://localhost:6379/0 |
Redis connection for events. |
FXQ_STATIC_DIR |
(unset) | Point at a built web UI (frontend/dist) to serve the app from the API in one container — see step 4. |
FXQ_SEED_DEMO |
(unset) | Set to 1 to seed sample projects, tasks and published versions on first start. |
FXQ_DEBUG |
false |
Verbose/debug mode. |
See Configuration for the complete list (S3/MinIO, testing, the Compose service credentials) and a production hardening checklist.
Before you expose this to the internet
The default build is wired for a trusted network. Change the Postgres and MinIO credentials, restrict which ports you publish, and read the hardening checklist — the JWT signing secret in particular is currently a built-in default. Don't put this on a public address until you've been through it.
To set your own values, copy the template and edit it:
3. Log in
A default admin is created on first start:
- Email:
demo@fxquinox.dev - Password:
demo
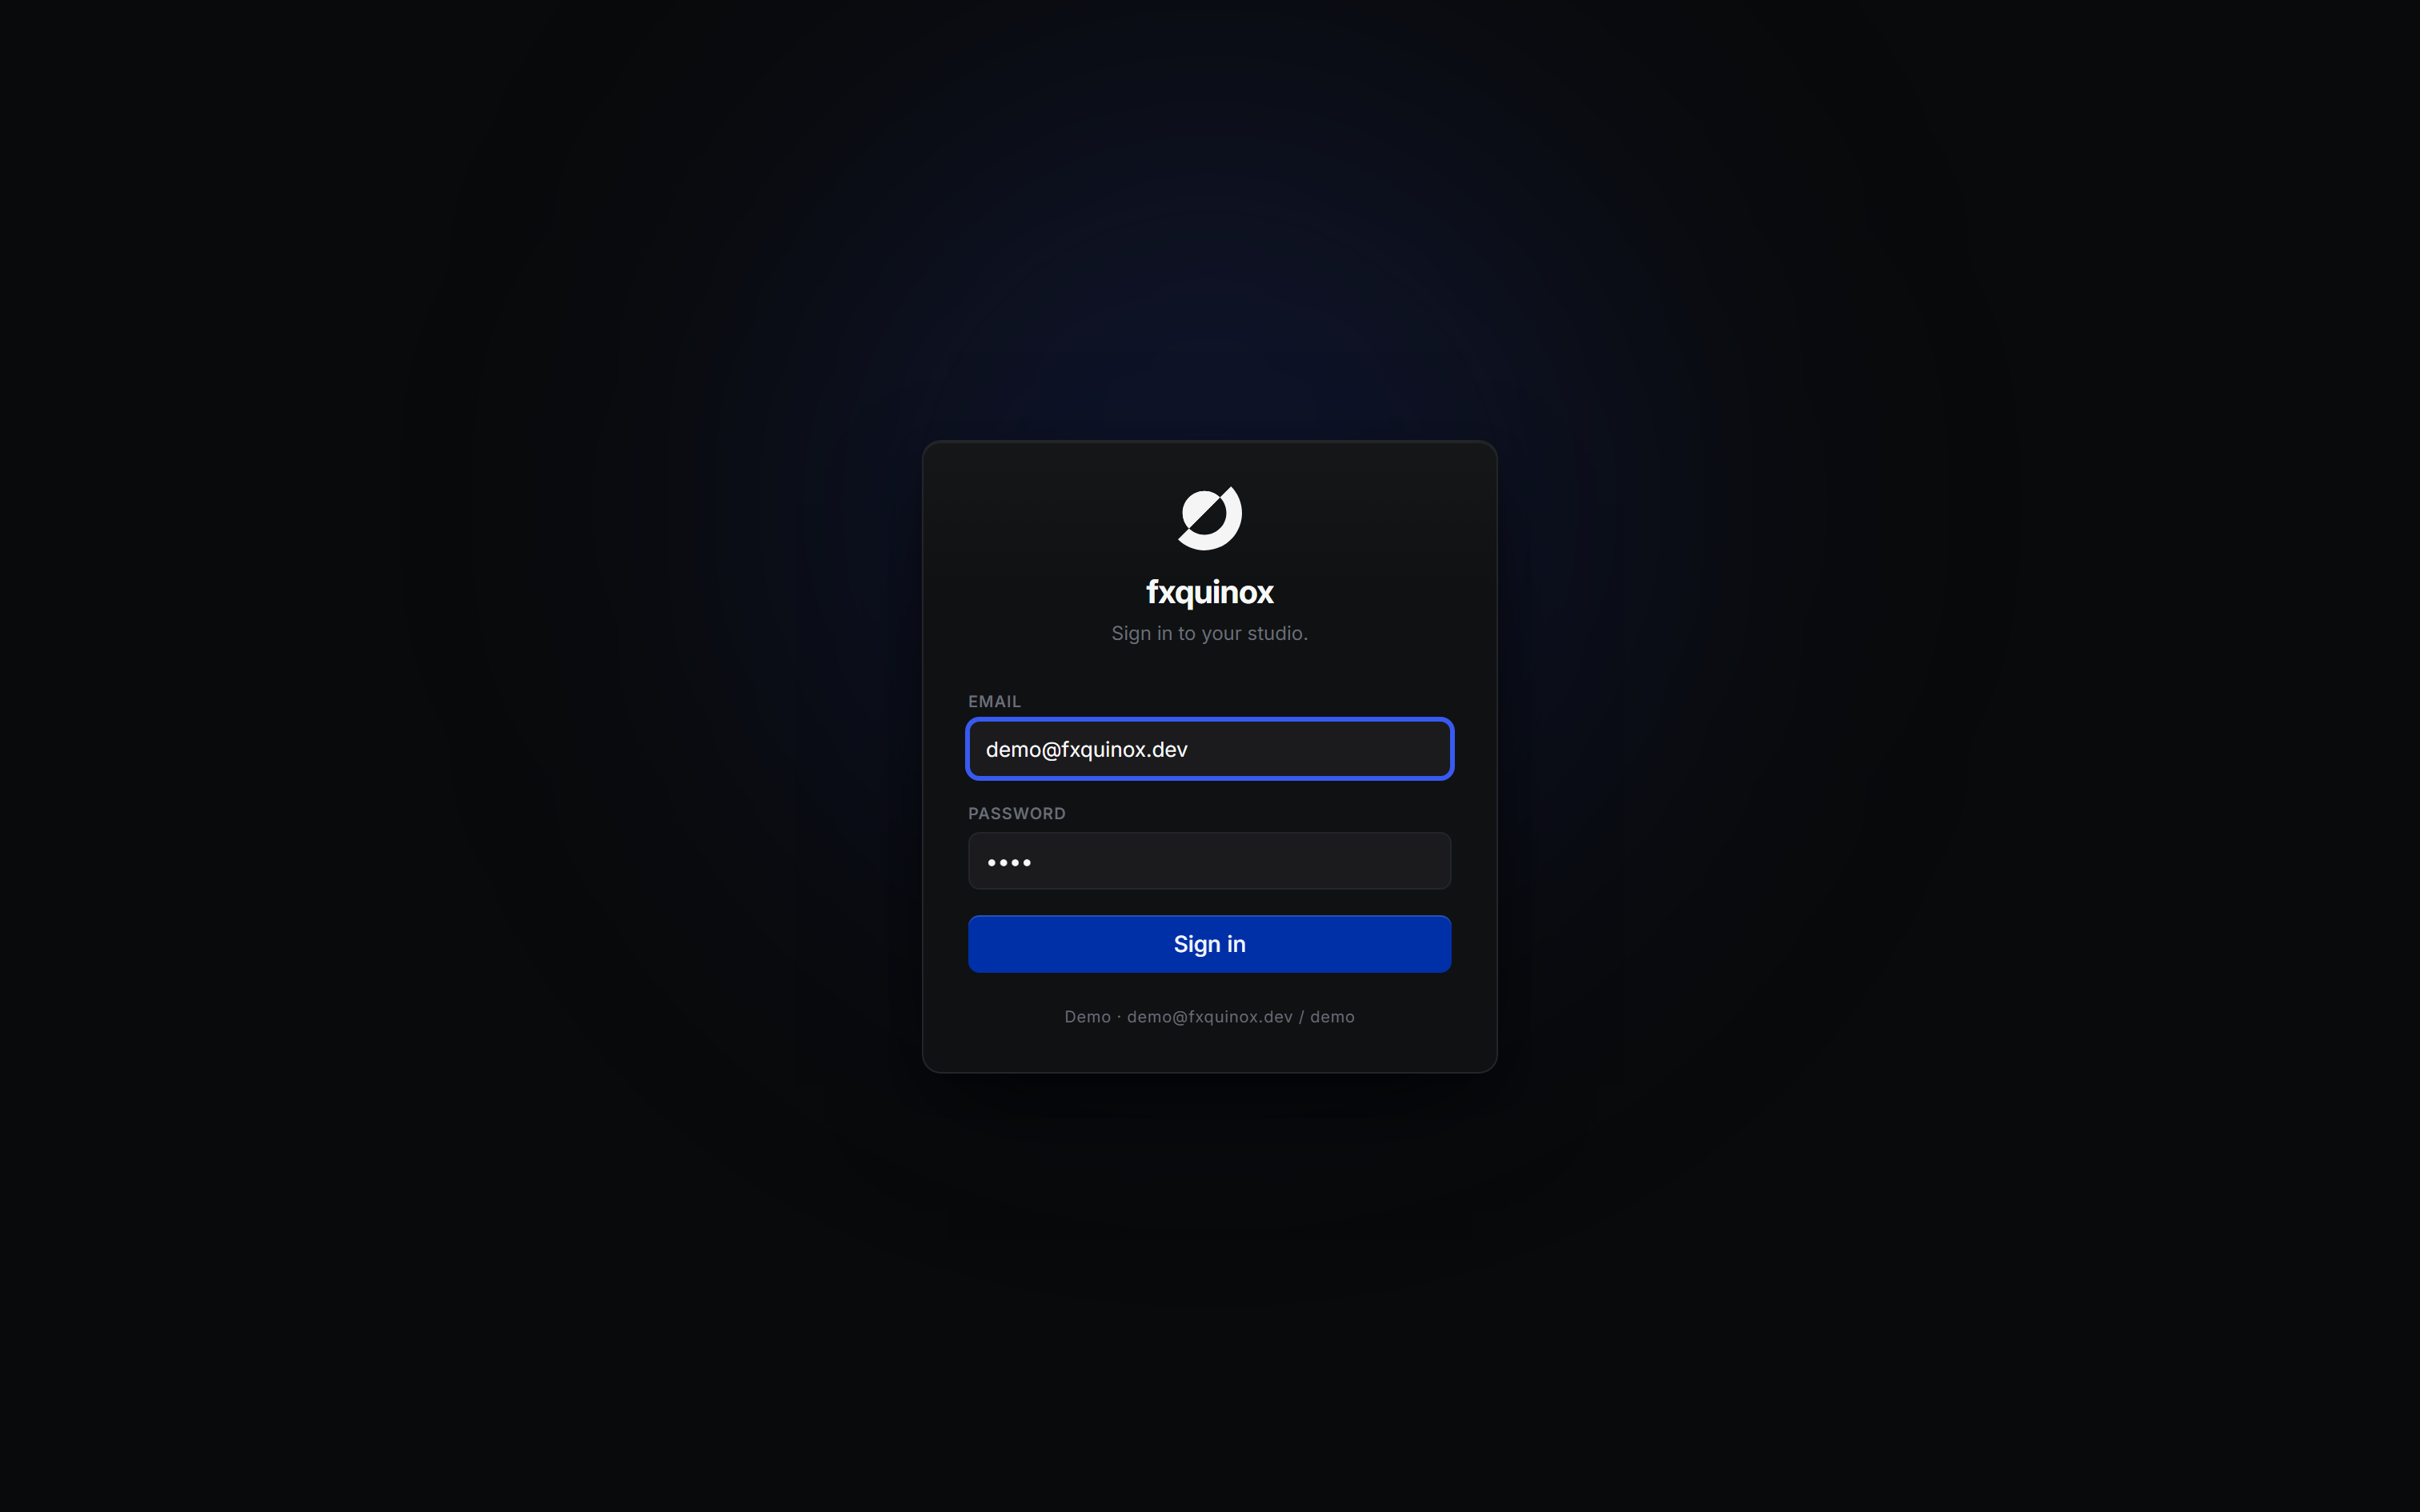
Change the password immediately for any real use (Settings → Users).
4. Serve the web UI
The Compose stack serves the API only. To serve the web UI, build it and point the backend at the output:
Then set FXQ_STATIC_DIR to that dist/ directory (mounted into the backend
container) and the API will serve the single-page app at /. For development
it is usually easier to run the UI separately — see below.
Run locally for development
Backend
cd backend
py -3.11 -m venv .venv
.venv\Scripts\python -m pip install -e ".[dev]"
.venv\Scripts\python -m pytest -v          # optional: run the tests
.venv\Scripts\python dev_server.py         # serves http://localhost:8000
dev_server.py uses a local SQLite database, seeds the built-in schema and the
default admin, and serves on port 8000. To also load the sample projects:
Web UI
The dev server talks to the backend at http://localhost:8000 by default. To
point it elsewhere, set VITE_API_BASE:
First steps in the app
- Log in with the admin account above.
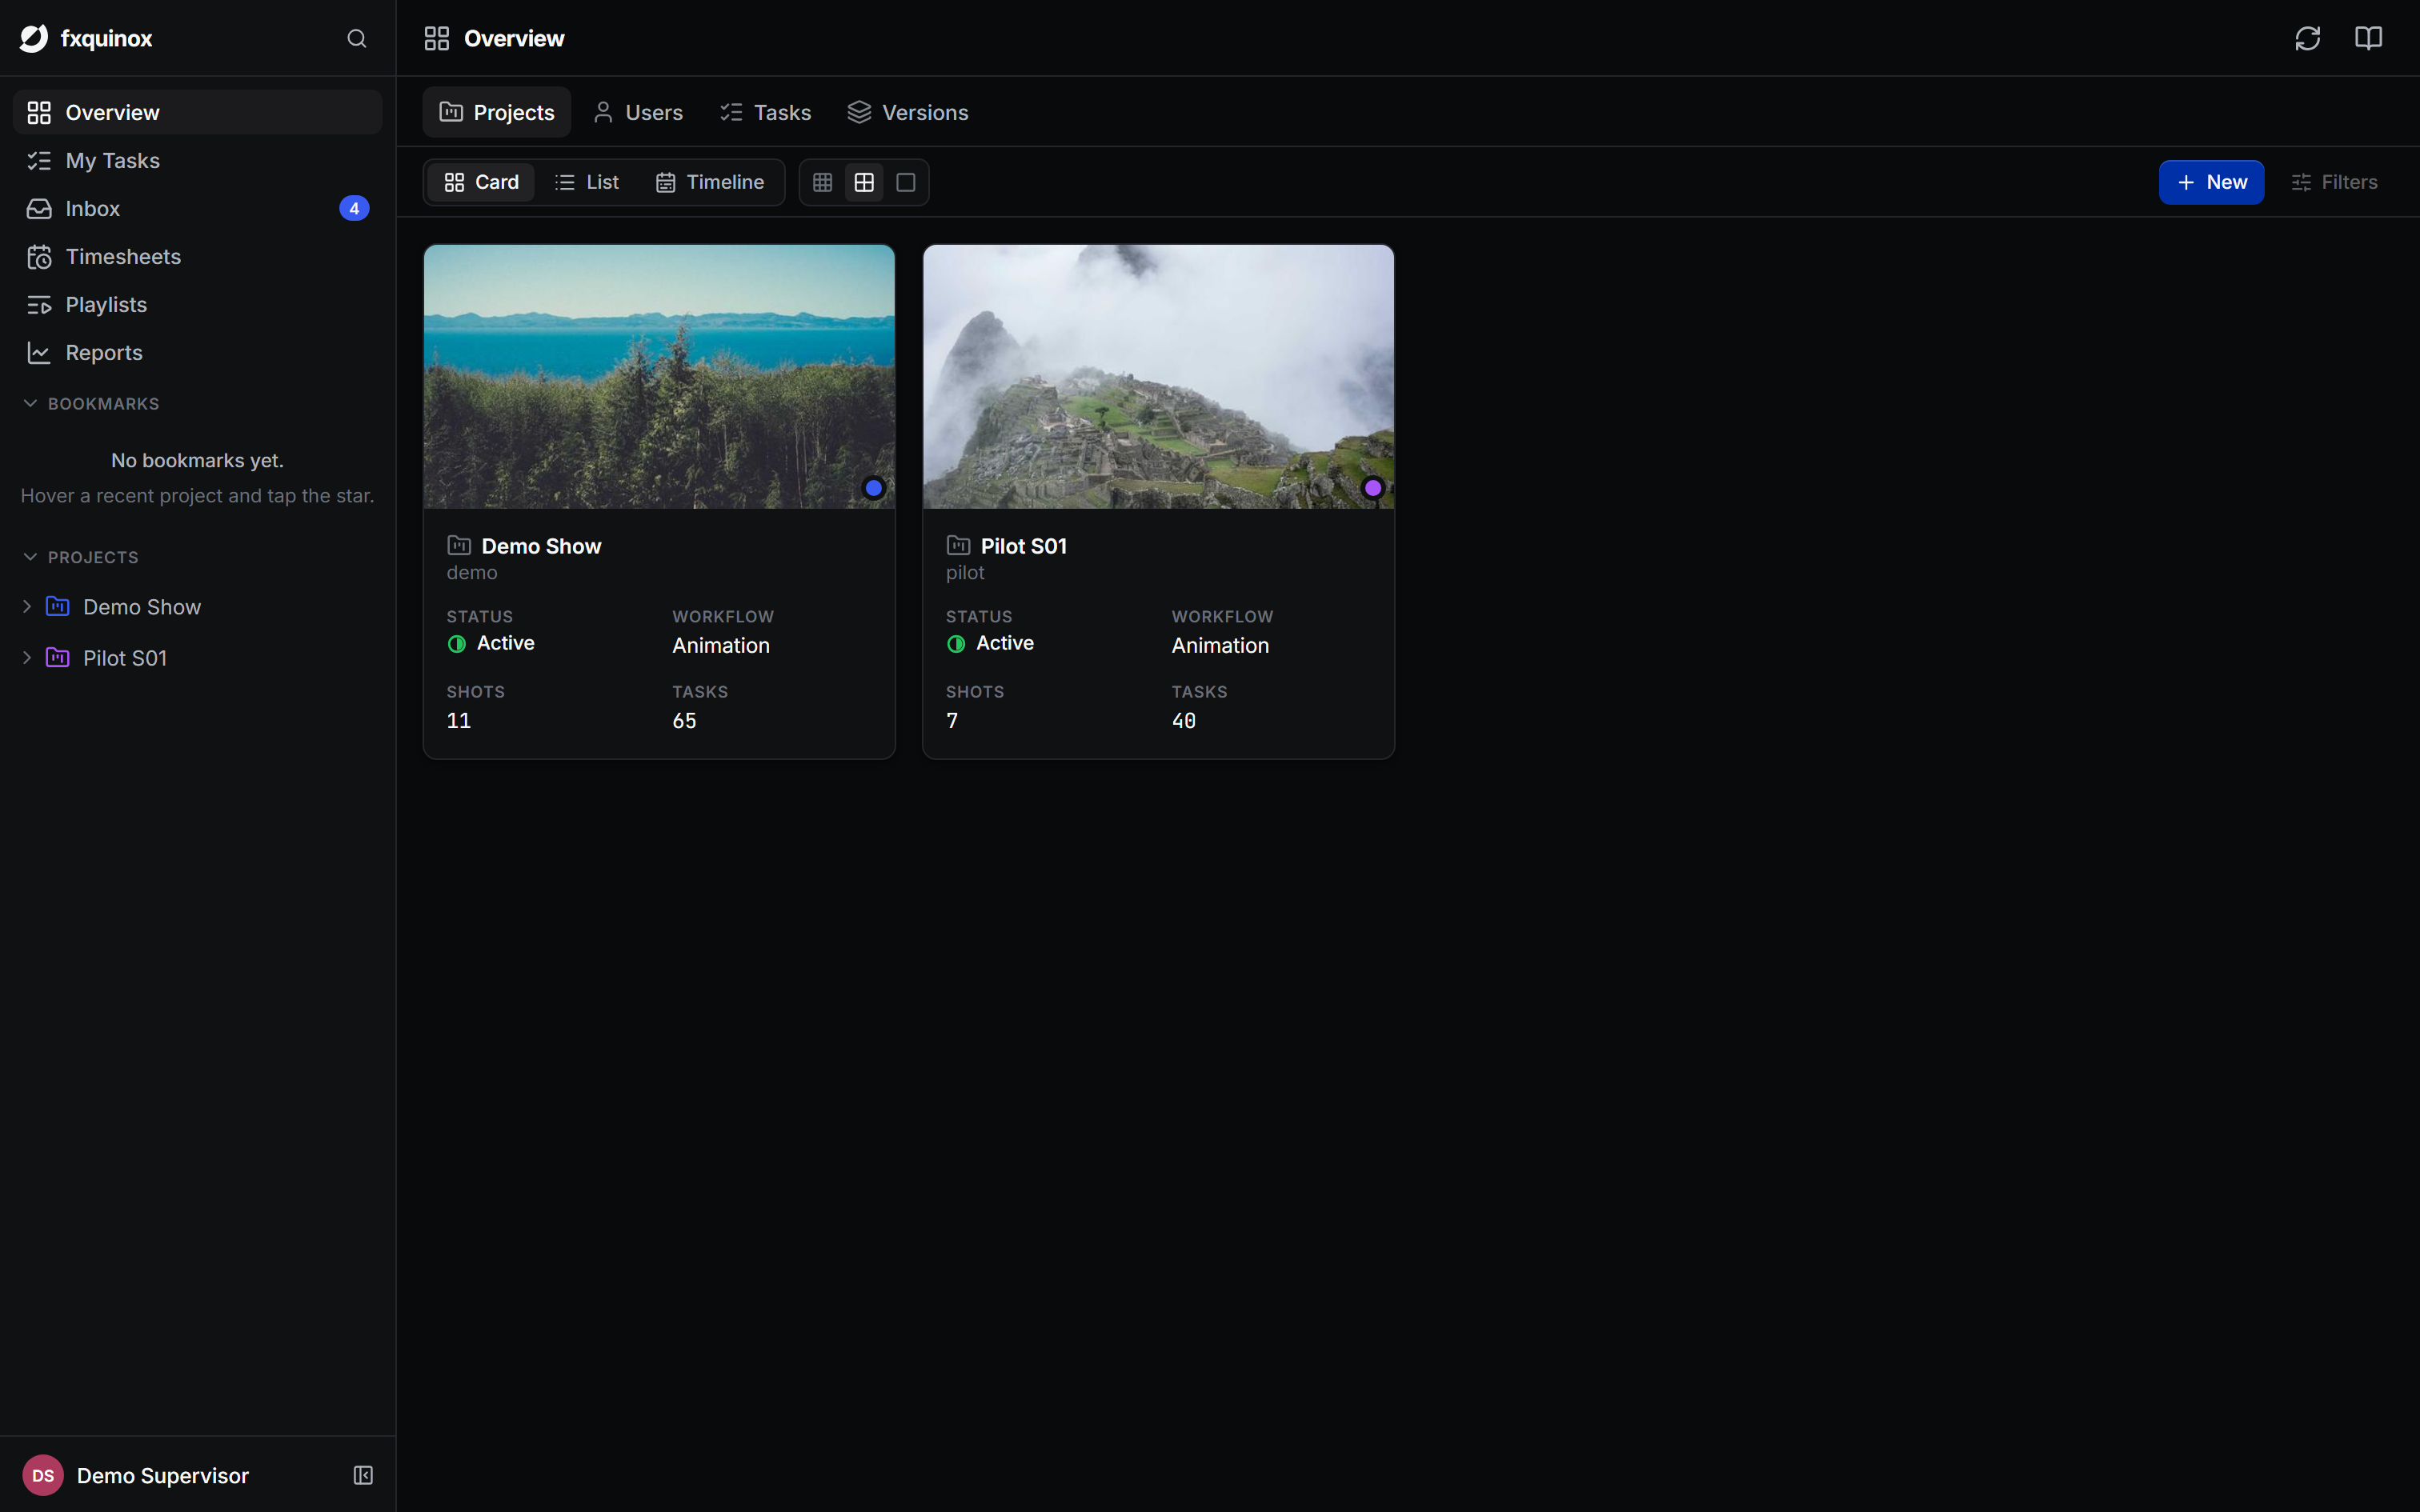
- Create a project from the Overview screen.
- Add sequences, shots and assets — or open a demo project if you seeded one.
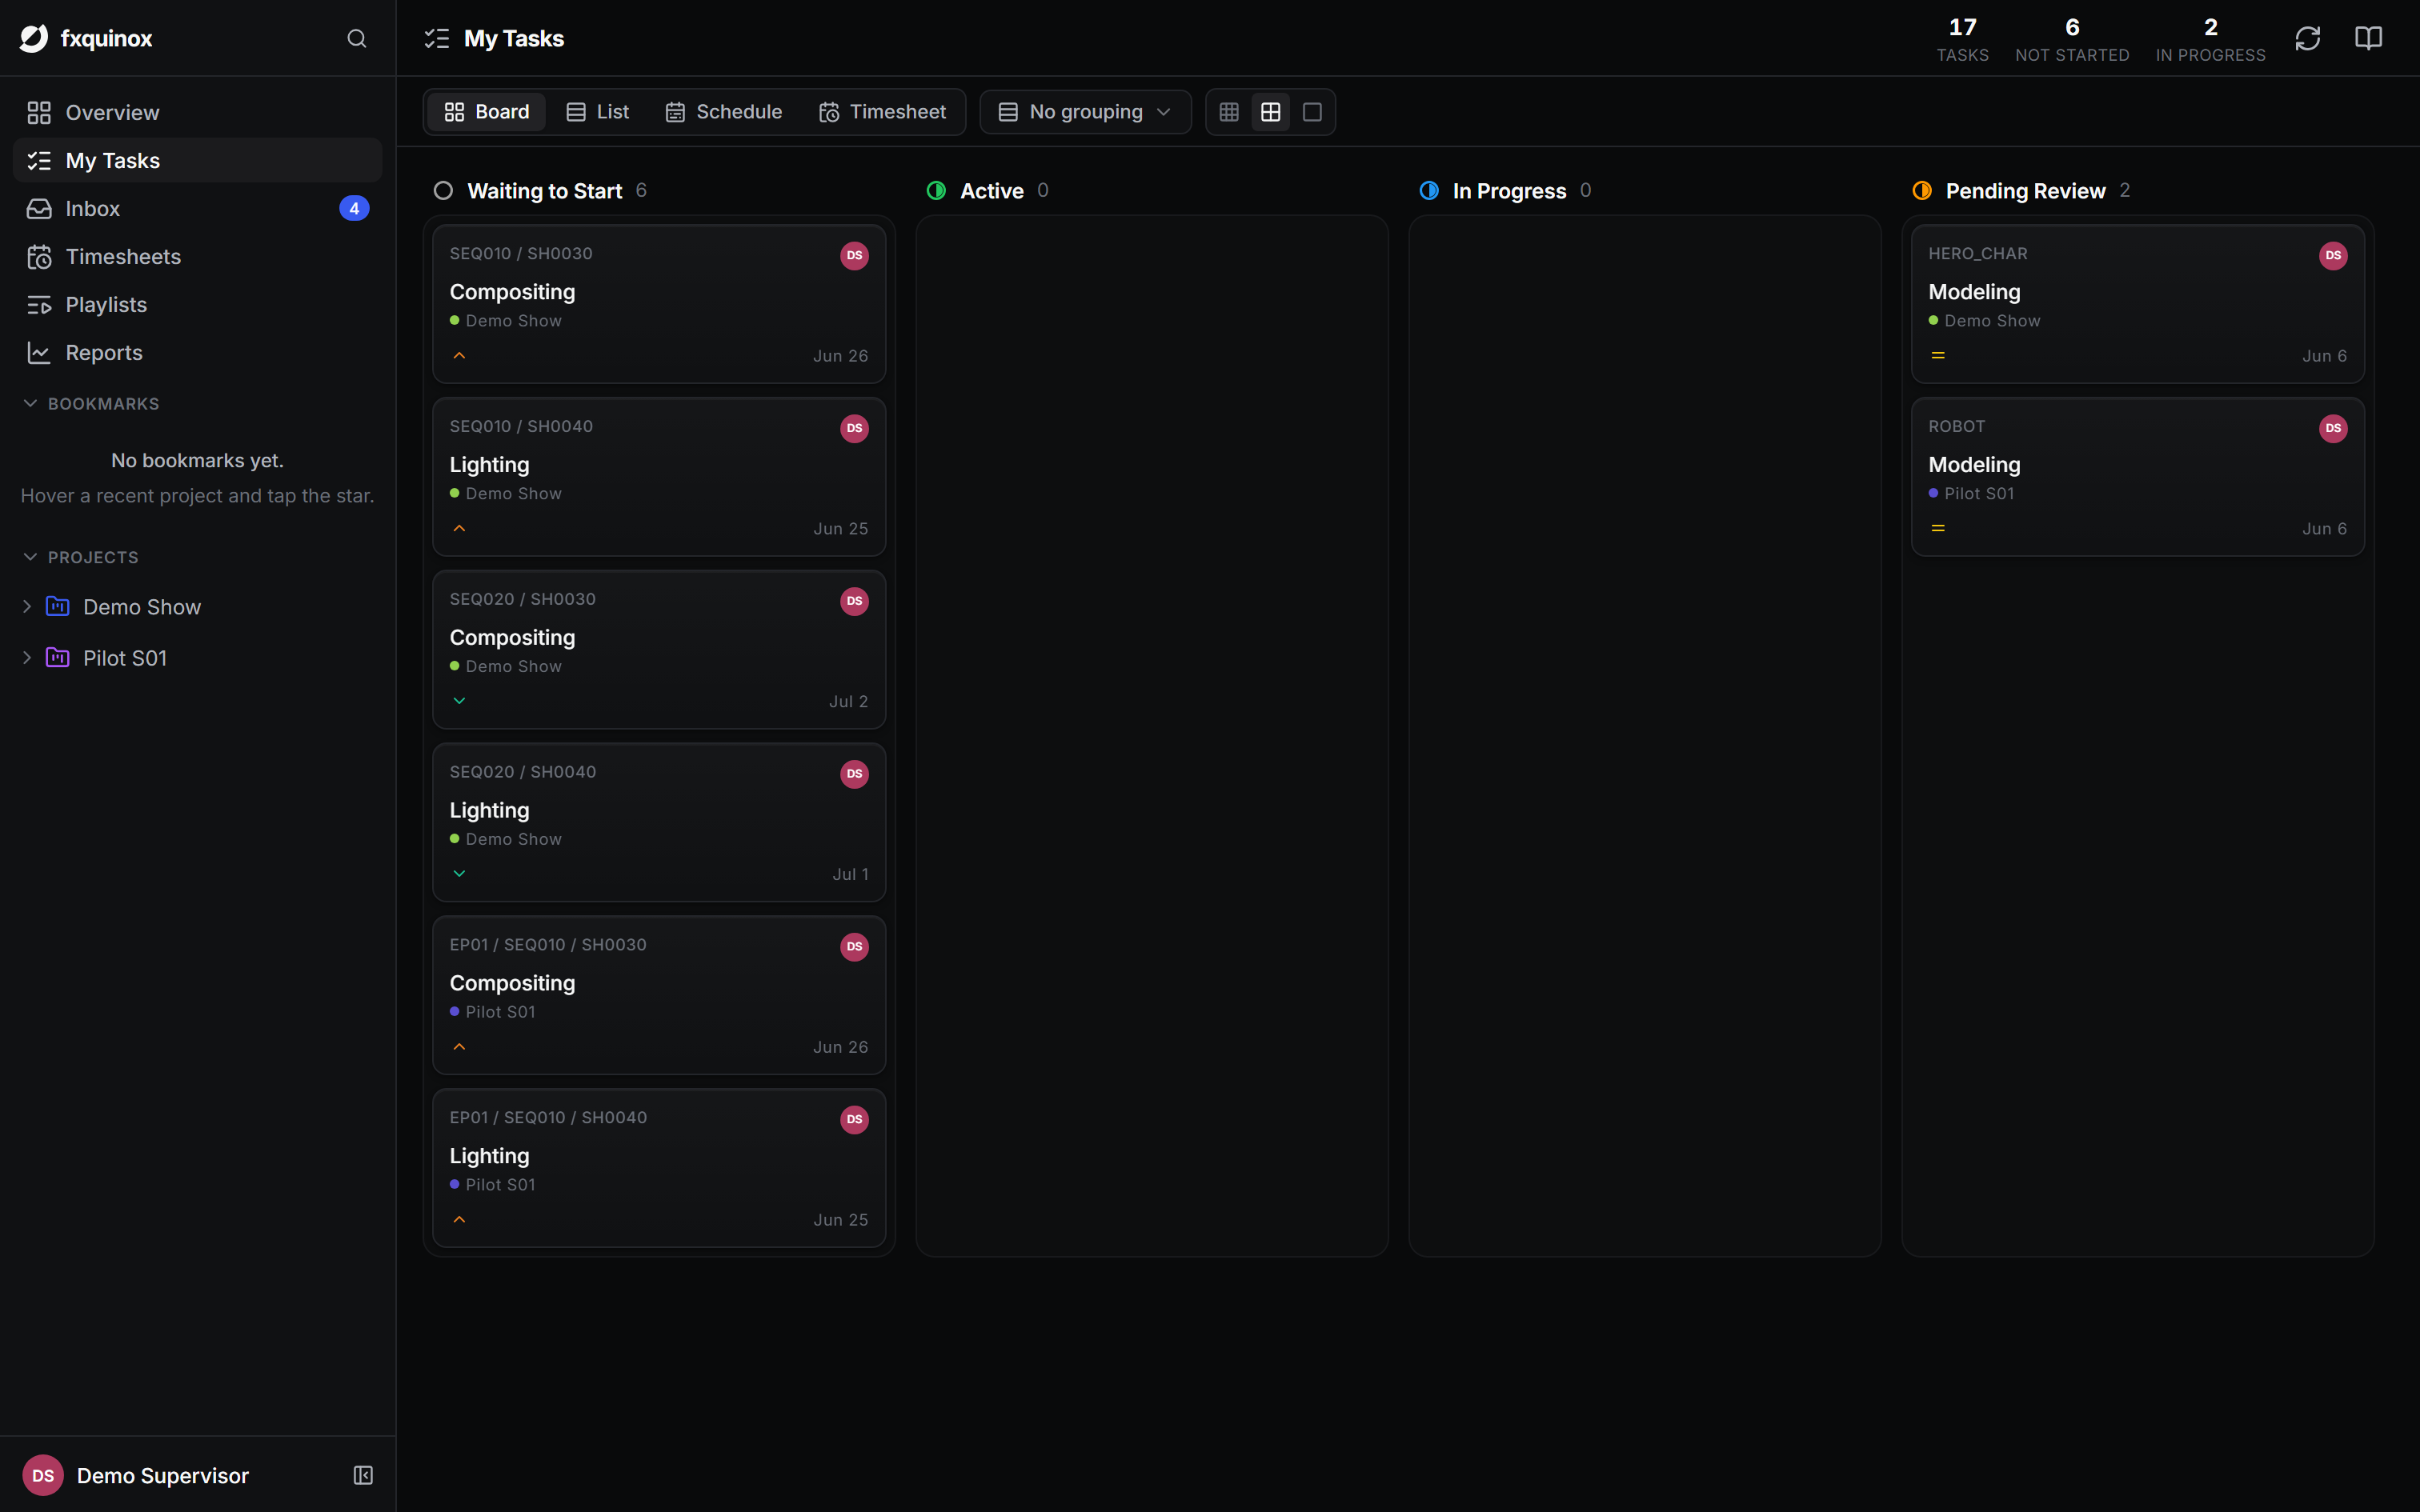
- Create tasks on shots and assets, assign people, and move them through their statuses on the board.
- Publish from a task to record versioned outputs (see How it works → the publish chain).
Use it from code
Everything in the UI goes through the same API, so anything you can click you can script:
from fxqclient import Session

fxq = Session("http://localhost:8000", token="...")
shots = fxq.entity("Shot").filter(project="Demo Show").all()
for shot in shots:
    print(shot.id, shot.status)
- Python SDK reference — the
fxqclientsurface. - HTTP API reference — every endpoint, live from OpenAPI.
- How it works — the data model behind it all.